St. Patrick's Day Cookies
Disclaimer: Some of the links below are affiliate links, which means, at no additional cost to you, I will earn a commission if you open the link and make a purchase. Read more about affiliate links on our Privacy Policy.
Happy St. Patrick’s Day! I thought this would be a great holiday to get back into posting some recipes. I decided to foray into the land of baking, which is definitely not my expertise. But this recipe actually came out pretty well. I did use the Low Protein Cookery for PKU by Virginia E. Schuett 2nd edition, revised and expanded for the cookie dough, so if you have that cookbook I used the Basic Cut-Out Cookie Dough recipe on page 354 if you just want to follow that recipe. I believe they have updated this recipe book to the 3rd edition now. I am not positive if this recipe is still in this edition, but I imagine it would be. But you can find the 3rd edition of this cookbook here.
I definitely got a little bit crafty with this recipe. I originally wanted to find shamrock-shaped cookie cutters, but as I decided to make this recipe a week ago, I wasn’t able to find any nor did I have time to get any delivered. So I decided to make my own shamrock stencil out of a post-it note and decorate my cookie that way.
To make the stencil: using a small-squared sized piece of paper (a post-it note or a little bit larger), draw or trace a shamrock onto the piece of paper. If you lack artistic skills, I recommend pulling up a picture of a shamrock on your computer and tracing it that way. Then using a scalpel if you have one, or a really sharp knife, cut out the shamrock. You will need both the center (shamrock) stencil and outer (extra paper) stencil to decorate your cookies.
I was able to find a scalpel I had from when I took an art class in college to cut out the shamrock stencil. That was definitely the easiest way to cut it. But if you don’t have one, find a sharp knife and just be very careful when cutting out your stencil. This is definitely an adult task if you are having the kiddos help make these cookies.
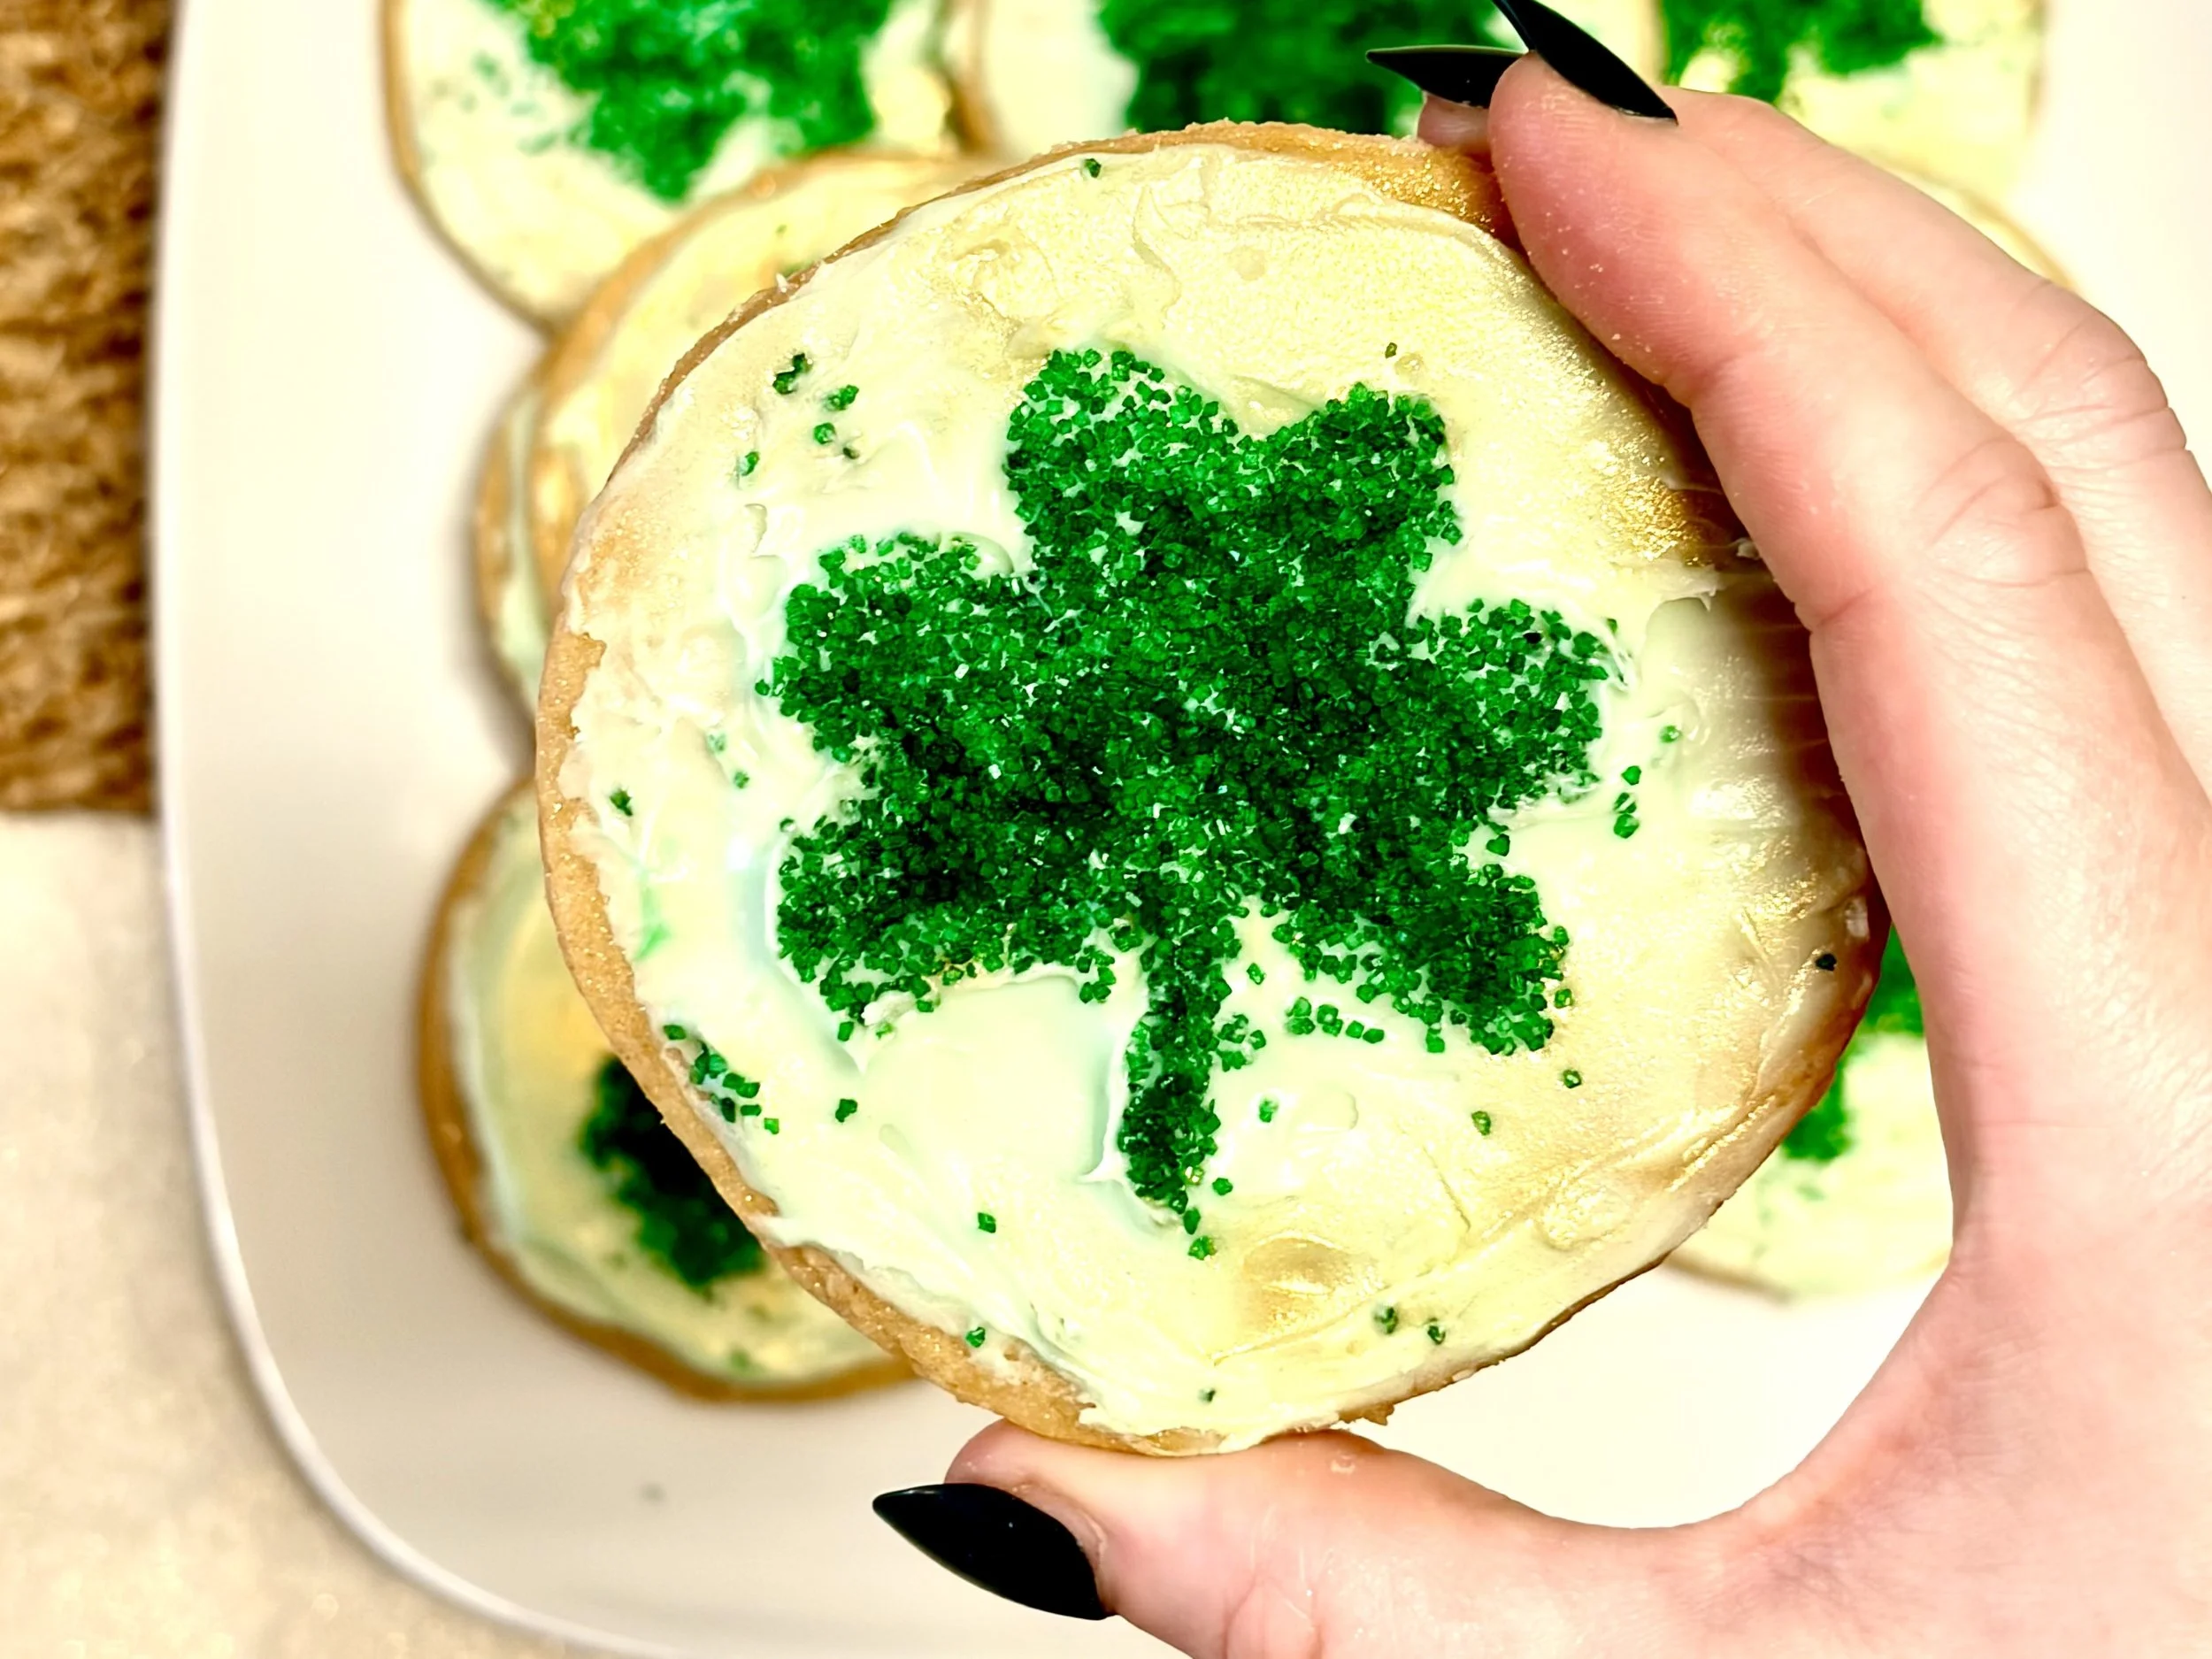
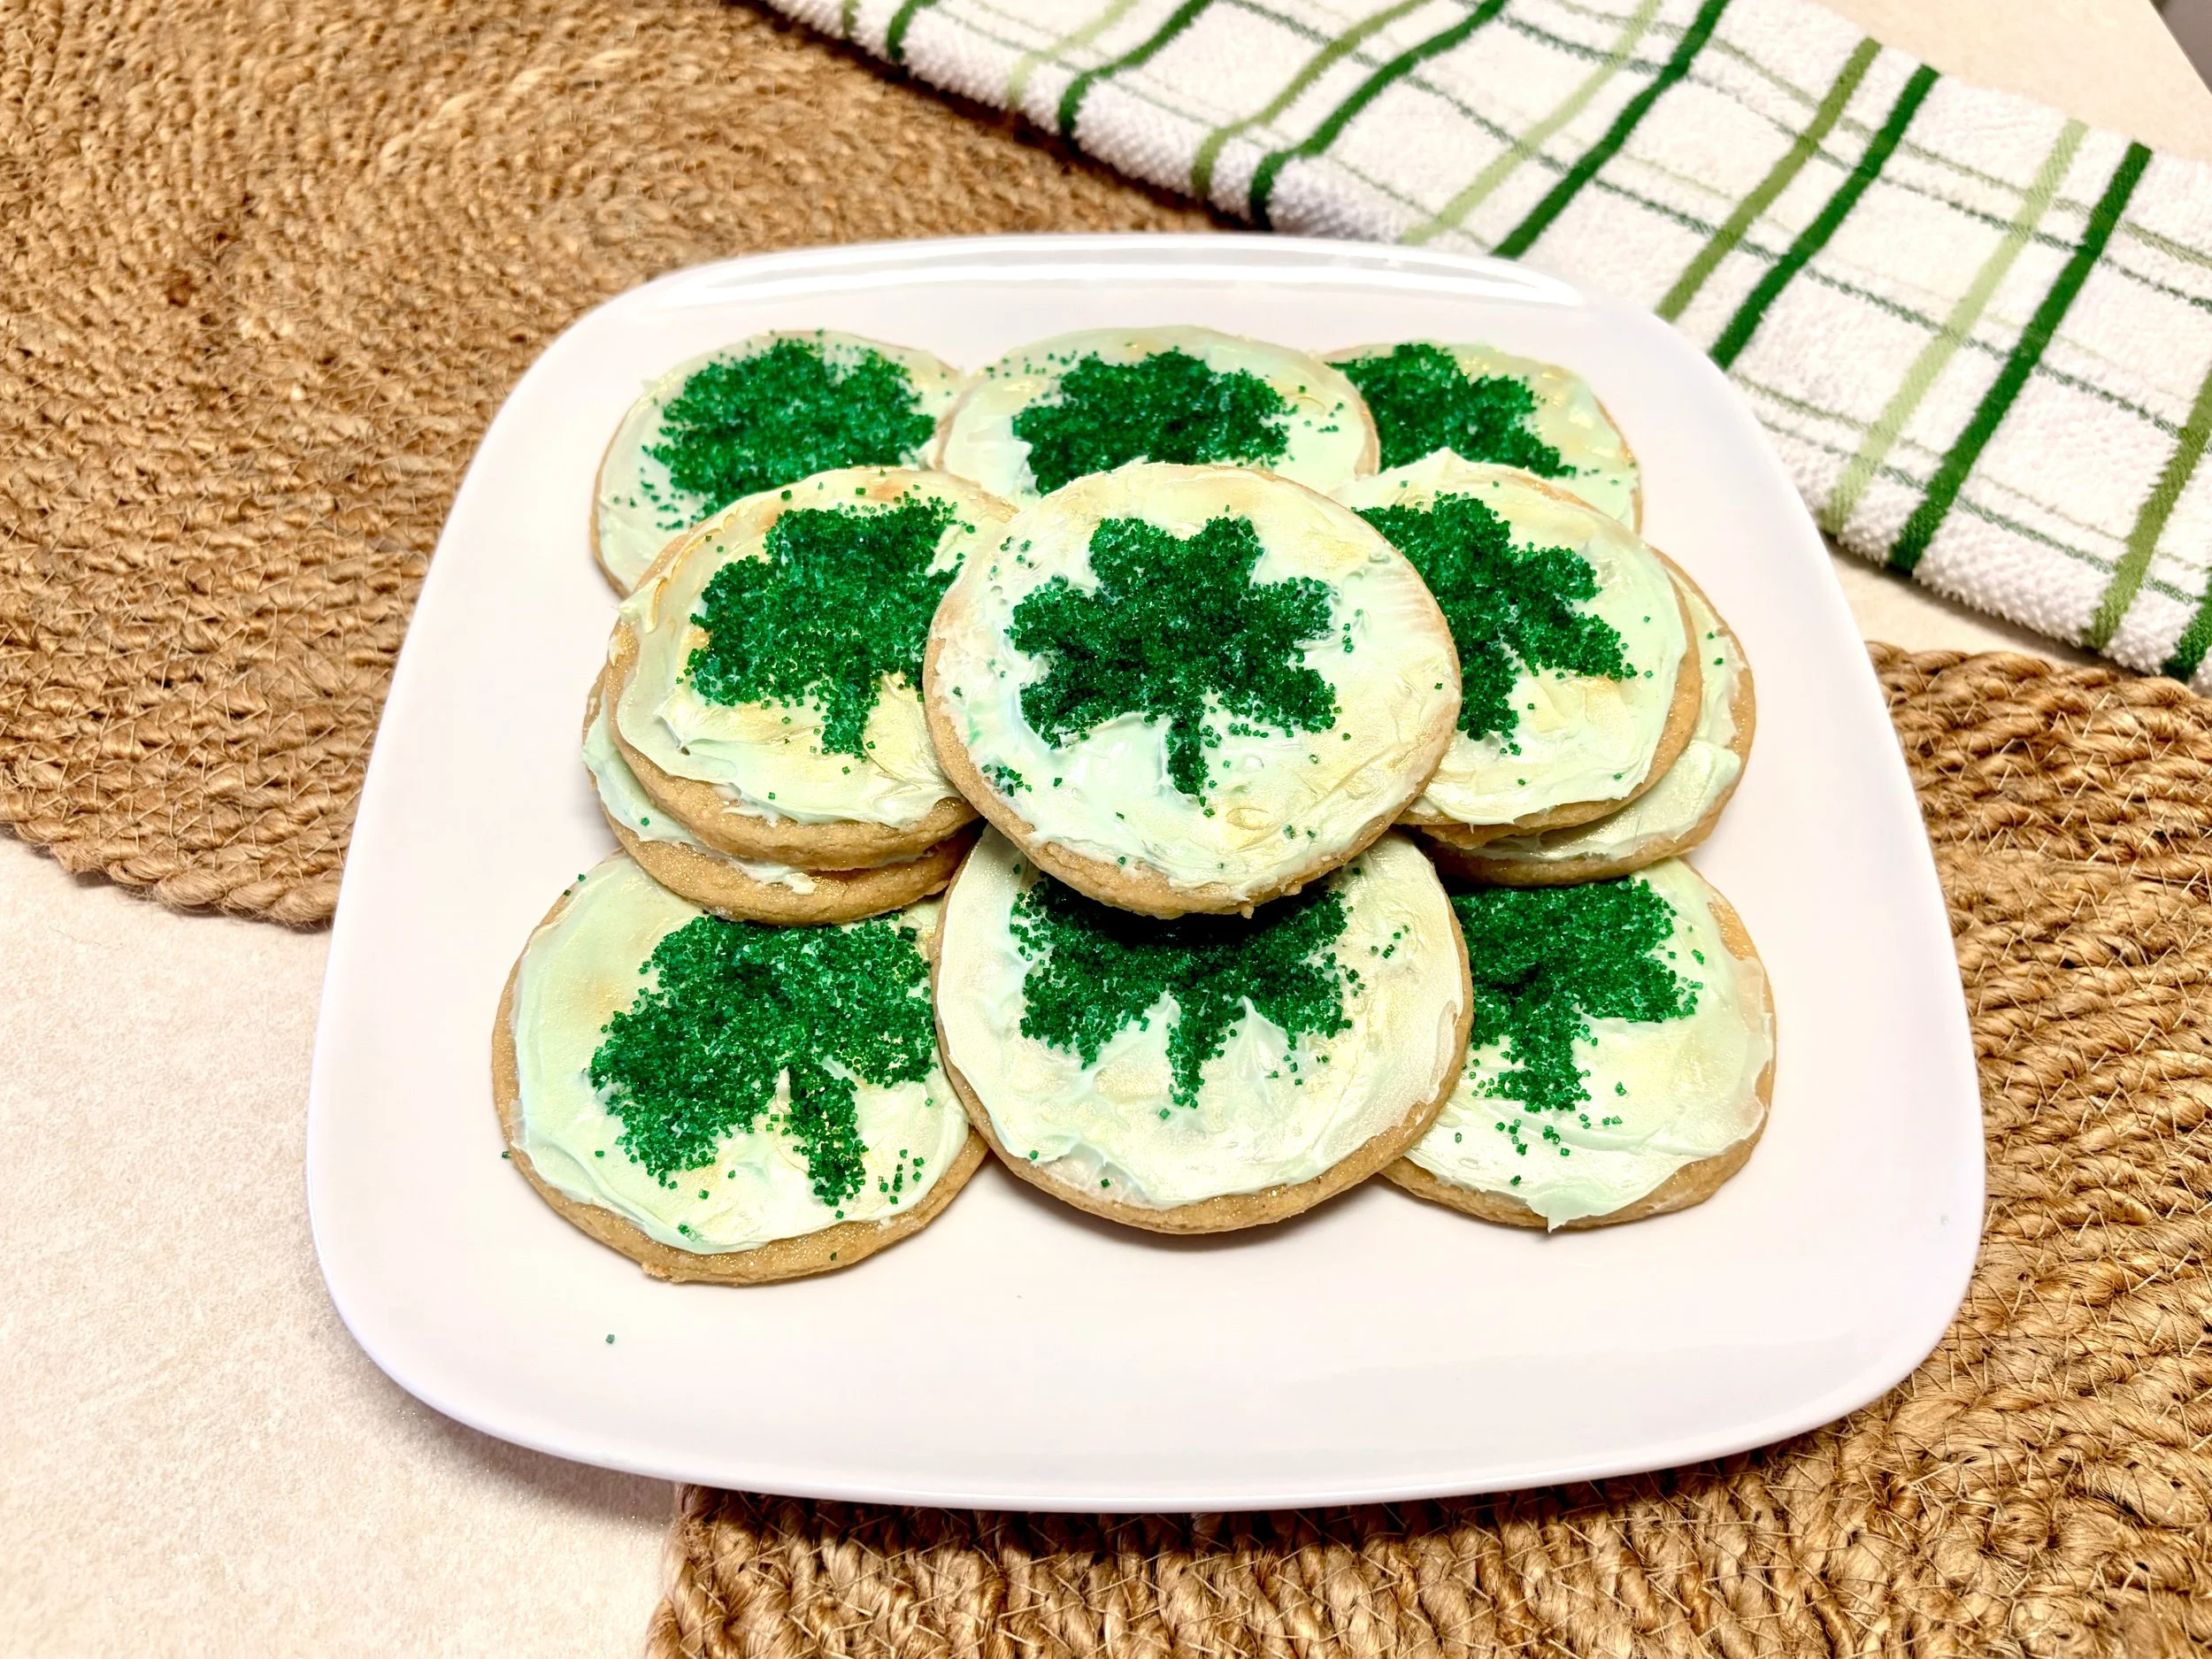
Once you’ve made the cookie dough and baked your cookies the only thing left you need to do is decorate them. There is definitely a learning curve when it comes to getting the shamrock to look right. My first few shamrocks just looked like green blobs, so don’t give up right away. Figure out your technique and you’ll get there. You have 12 tries to get it right! I definitely should have let the frosting harden a little bit because my stencil kept getting stuck to it, which made it hard to take the stencils off without ruining the decoration.
The gold shimmer is definitely an extra, so don’t feel like you have to use it. If you’re able to find a shamrock shaped cookie cutter, by all means just use that and just cover them in green sprinkles. That was my original idea, but obviously I had to get a bit more creative with this one. Also, if you can’t find a cookie cutter, use a small glass to cut out your cookies (like me!). If the shamrock stencil decoration is too much artistic creativity for you, make your decorations more simple. You can just cover your cookies with green sprinkles, or cut paper into straight lines and placed your glitter on your cookie in lines. If you can find a darker green frosting or gel, you can also make polka dots. Color-wise I would stick with greens and golds, but have fun with it!
These are definitely some great low-protein cookies to make for the holiday. If you have a child in school these are great to make and send in with them if they are doing any sort of classroom celebration. I hope you enjoy!
Ingredients:
Low-protein cookie dough (see below)
¾ cups of white/vanilla Frosting
3-4 drops green food coloring
¼ cup green Sprinkles
Edible gold shimmer (optional)
Shamrock stencil
Serving Size: 1 cookie
Servings per recipe: 12
Phe per serving: 2 mg
Directions:
Preheat oven to 375℉
Roll out cookie dough to ⅛” thickness. Use baking mix to coat the table and the rolling pin to prevent sticking. Use a cookie cutter or small glass (~3in wide) to cut cookies.
Place cookies on an ungreased baking sheet or using parchment paper on the baking sheet. Put in the oven for 6-8 minutes depending on your level or softness or crispiness.
Take cookies out of the oven. Let them cool for 2 minutes on the baking tray before moving the cookies to a cooling rack. Let cookies cool for 15-20 minutes.
Use a small spatula or butter knife to spread 1 tbsp of frosting onto each cookie.
Let the cookies sit for several minutes to let the frosting stiffen a bit.
Place the shamrock stencil (read description for how to make stencil) in the very center of the cookie. Use the gold shimmer to cover the rest of the cookie in a gold shimmer.
Take off the shamrock stencil, and line up the outer stencil to match where you placed the shamrock stencil. Cover the center of the cookie (where you placed the shamrock stencil) with green sprinkles. Remove the outer stencil and tilt the cookie to let the excess sprinkles fall off into a bowl or the trash.
Serve and enjoy!
Cookie Dough
*Basic Cut-Out Cookie Dough recipe pulled from Low Protein Cookery for PKU by Virginia E. Schuett 2nd edition revised and expanded (pg. 354)
Ingredients
½ cup vegetable shortening (Crisco)
⅓ cup softened butter/margarine
2 tbsp granulated sugar
¼ cup packed brown sugar
1 pkg (4-serving size) vanilla Jell-O instant pudding and pie filling mix
1 tsp vanilla
¼ cup water
2 cups (220g) Wel-Plan baking mix
½ tsp salt
Directions:
Combine vegetable shortening, butter/margarine, and both sugars in a medium mixing bowl. Mix well.
Add pudding mix and vanilla. Mix well.
Gradually add water while mixing together.
Stir in baking mix and salt, then add to the creamed mixture. Mix until thoroughly combined.
The dough will be stiff. Wrap in plastic wrap and either place in the freezer for 45 minutes or refrigerate for several hours.